
Make Up is a necessity like it or NOT. Make Up products will eXplode and accentuate ur natural goDdess.
Off course, like everything in life: in the right measure EXTREMES are not welcOme: pAle face nor poKer face.
So I’ve selected very easy no-skip steps, that u can follow and look ur best.
Try them and let me know :)
KarenR
Step 1: READ AND COMMIT
I, YOUR NAME take thee CONCEALER, to be my loyal company, to have and to hold from this day forward, for better or for worse, for richer, for poorer, in sickness and in health, to love and to cherish; and I promise to be faithful to you until death do us parts.
Always Always and always wear concealer on your eyes. One tone lighter than your foundation, so eyEs really stand out, and all dark circles disappear all day. Even if u wear nothing else.
I normally i wont pressure u to buy something, but this is a one time exception, i have x reasons for insisting on yoU buying this kit:
The concealer kit from AMAZINGCOSMETICS, is the best as it has all the essentials products and tools, that perfectly do the job:
I normally i wont pressure u to buy something, but this is a one time exception, i have x reasons for insisting on yoU buying this kit:
The concealer kit from AMAZINGCOSMETICS, is the best as it has all the essentials products and tools, that perfectly do the job:
- The concealer bush: it carefully reaches the inner corner of the eyes and smoothes the product on the eye lid for full coverage with a ridiculously smAll amount u will be impressed.
- Velvet Mineral Foundation Powder erasing and refining dark circles, and sun spots in order to get a flawless look.
- Setting Translucent Powder, this is the finish touch that will assure ur make-up will last and look shine-less and red carpet ready all daY lonG!
- PLUS!!!!! it comes witha DVD tutorial that will explain step by step how to rOck the prducts and your loOk!l


Step 2: Foundation.
Go for liquid formulas not pressed powder versions, so your pores don’t clog and skin can really absorb the product. I like a light weight formula based on natural ingredients such as vitamin C, and Wild Rose with SPF: KORRES foundation perfectly does the job for me. Apply it with a brush (CLEAN) for a smoother application to avoid fingers dirt ending up in your cheeks; apply some to the neck line, so that your face matches your neck color!

3. Powder, Loose or Compact.
I love loose powder as it just perfectly pairs with the foundation and keeps a natural look. If u like more coverage go for the compact powder.
Apply either versions, with a big fluffy brush that will ¨spread¨ evenly the powder and u wont get a heavy sensation. 
4. Blush
My favorite most flattering tool ;). Choose between pinkish colors for the day and bronze/golden colors for night.
If u have a round face like mine: apply a diagonal stroke that starts from the ear, and goes trough BELOW the cheekbone. The effect will elongate your face to accentuate face bones.
If ur face is everything BUT round, apply blush directly on the cheekbones, to give color and enhace your natural face structure.

5. Eyeliner. Cream oR Pencil.
Pencil is easier to apply, but comes off quickly. Cream liner take a few more seconds and practice to apply, but once you learn, its long lasting and professional looking.
Apply with a thin brush, in a 2 step process: Start from the outer corner of the eye halfway through the upper lash line, then from the inner to the center of the lash line, completing a smooth line. Repeat in the lower lash line.
Remember the thicker the eyeliner is, the deeper your eyes look.

6. Mascara.
As important as concealer is mascara. It defines your looks and PoP´s your eyes, so brings out the bombshell in you.
I like volume, and definition. NO waterproof formulas, as they are too strong and will weaken your eyelashes. My two favorites are: Dior BLACKOUT. I’m sure you’ll love it too, is dark, divides, fulfills and elongates the lashes. Another good one and cheaper is Covergirl LASHBLAST VOLUME BLASTING MASCARA in orAnge bottle.
Apply in upper lashes, AND lower lashes always. I always tap the brush before applying the first time so no excess spills on your eyelids, then apply another coat that will add volume and help separate and define lashes.

7. Lip Balm
Hidrating is vital for Lips. No lipgloss, lipstick will stay and look great on your lips , if ur lips are dry and fried :*(.
So what I used to do, was apply any hidrating chapstick before the lipstick or gloss; UNTIL i discovered LIP BALM.Which is the perfect 2 in 1. It hydrates and adds color and shine to ur lips. Play with all the colors u like, but always give color to your lips or you´ll end up lookig like a mime.

Basic Tools: Brushes
Powder Brush & Blush Brush. I like this big and full brushes i used them at home, as carrying the al day can be too much.
As u can see the Blush brush has a little angle so u can easily apply and get the right effect!

For your every day cosmetic bag i reccomend miniature versions of the brushes. From top to bottom are: Blush brush, Powder brush, Foundation brush, Shadow brush. I like ECOTOOLS brand as they are cheap and do a great job. Remember to wash ur brushes ONCE a week, with shampoo and warm water.

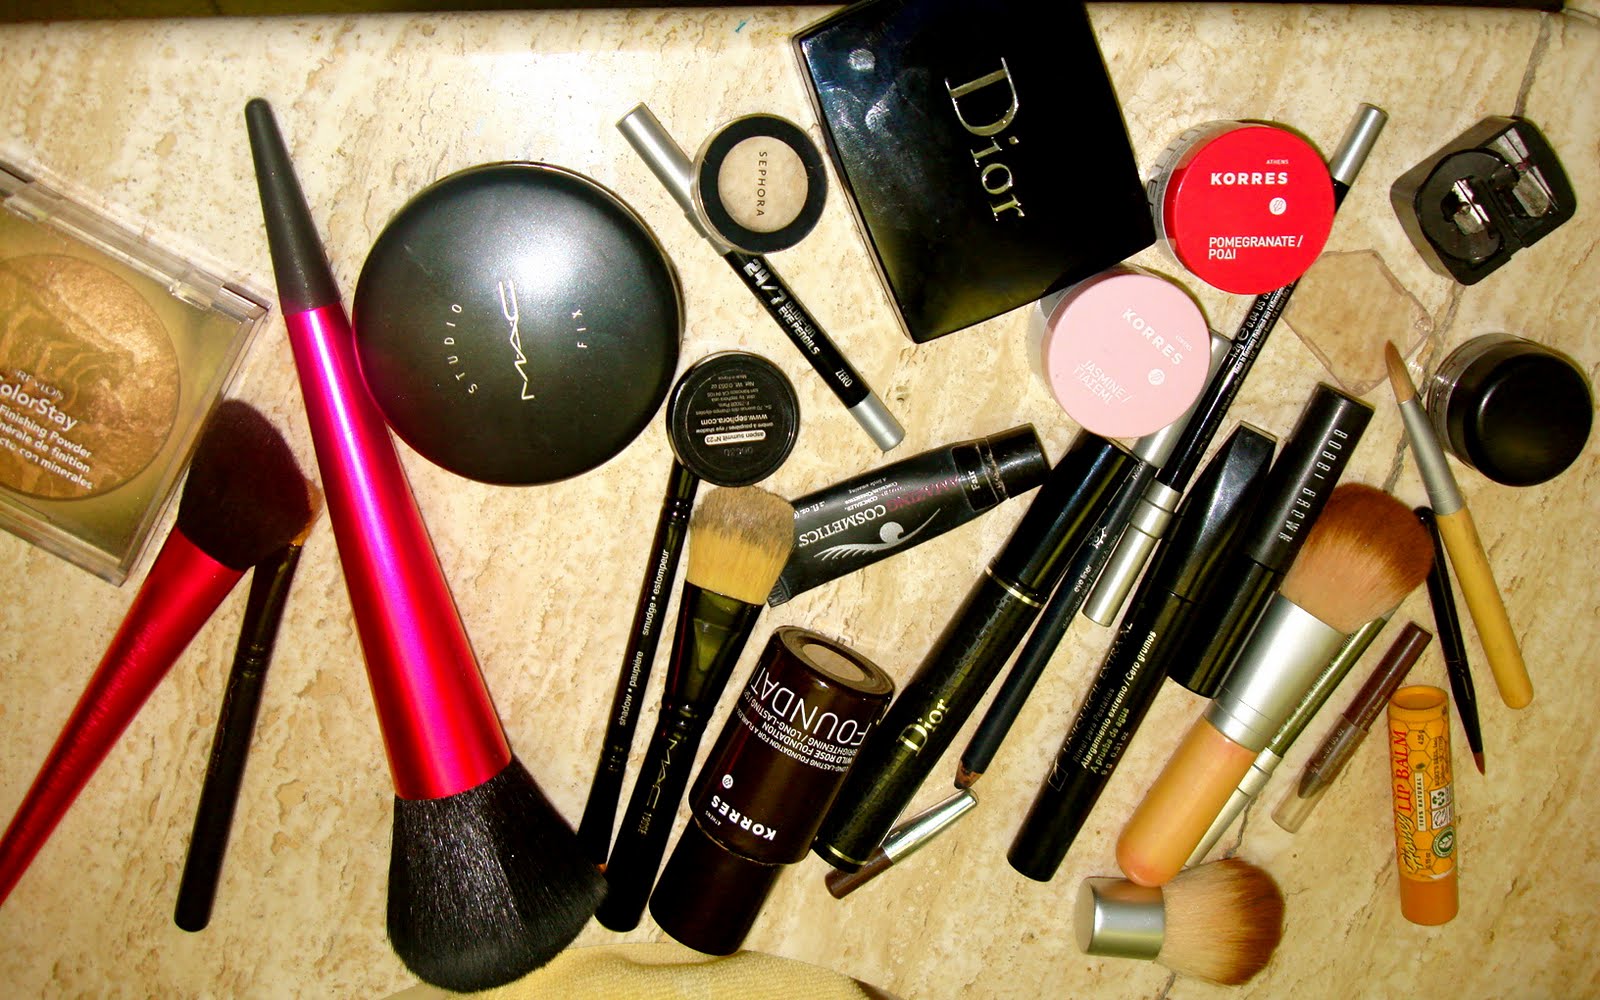
ExpecT mess! Is part of the fun! I love this pictUre.
You´re all set! Ready to rock ur everyday routine. This process should take 10 minutes the most, so there´s no reason to skip it. No reason to skip a gorgEous look.
This is KarenR at 8pm with my make up on since 9am.

Hope this is helpful, it works for me im sure it will work for u too!
Let me know anything u need.
Love, Love ,Love
KarenR
No comments:
Post a Comment